End-to-end tutorial
Build a wayfinding app
Create a Unity app that signs in a user, loads VPS-ready Sites, lets the user choose a destination, localizes the device, and displays AR guidance and anchored mesh content.
Start building
What you’ll build
The finished app guides the user through one continuous experience, from opening the app to viewing spatial content at the selected Site.
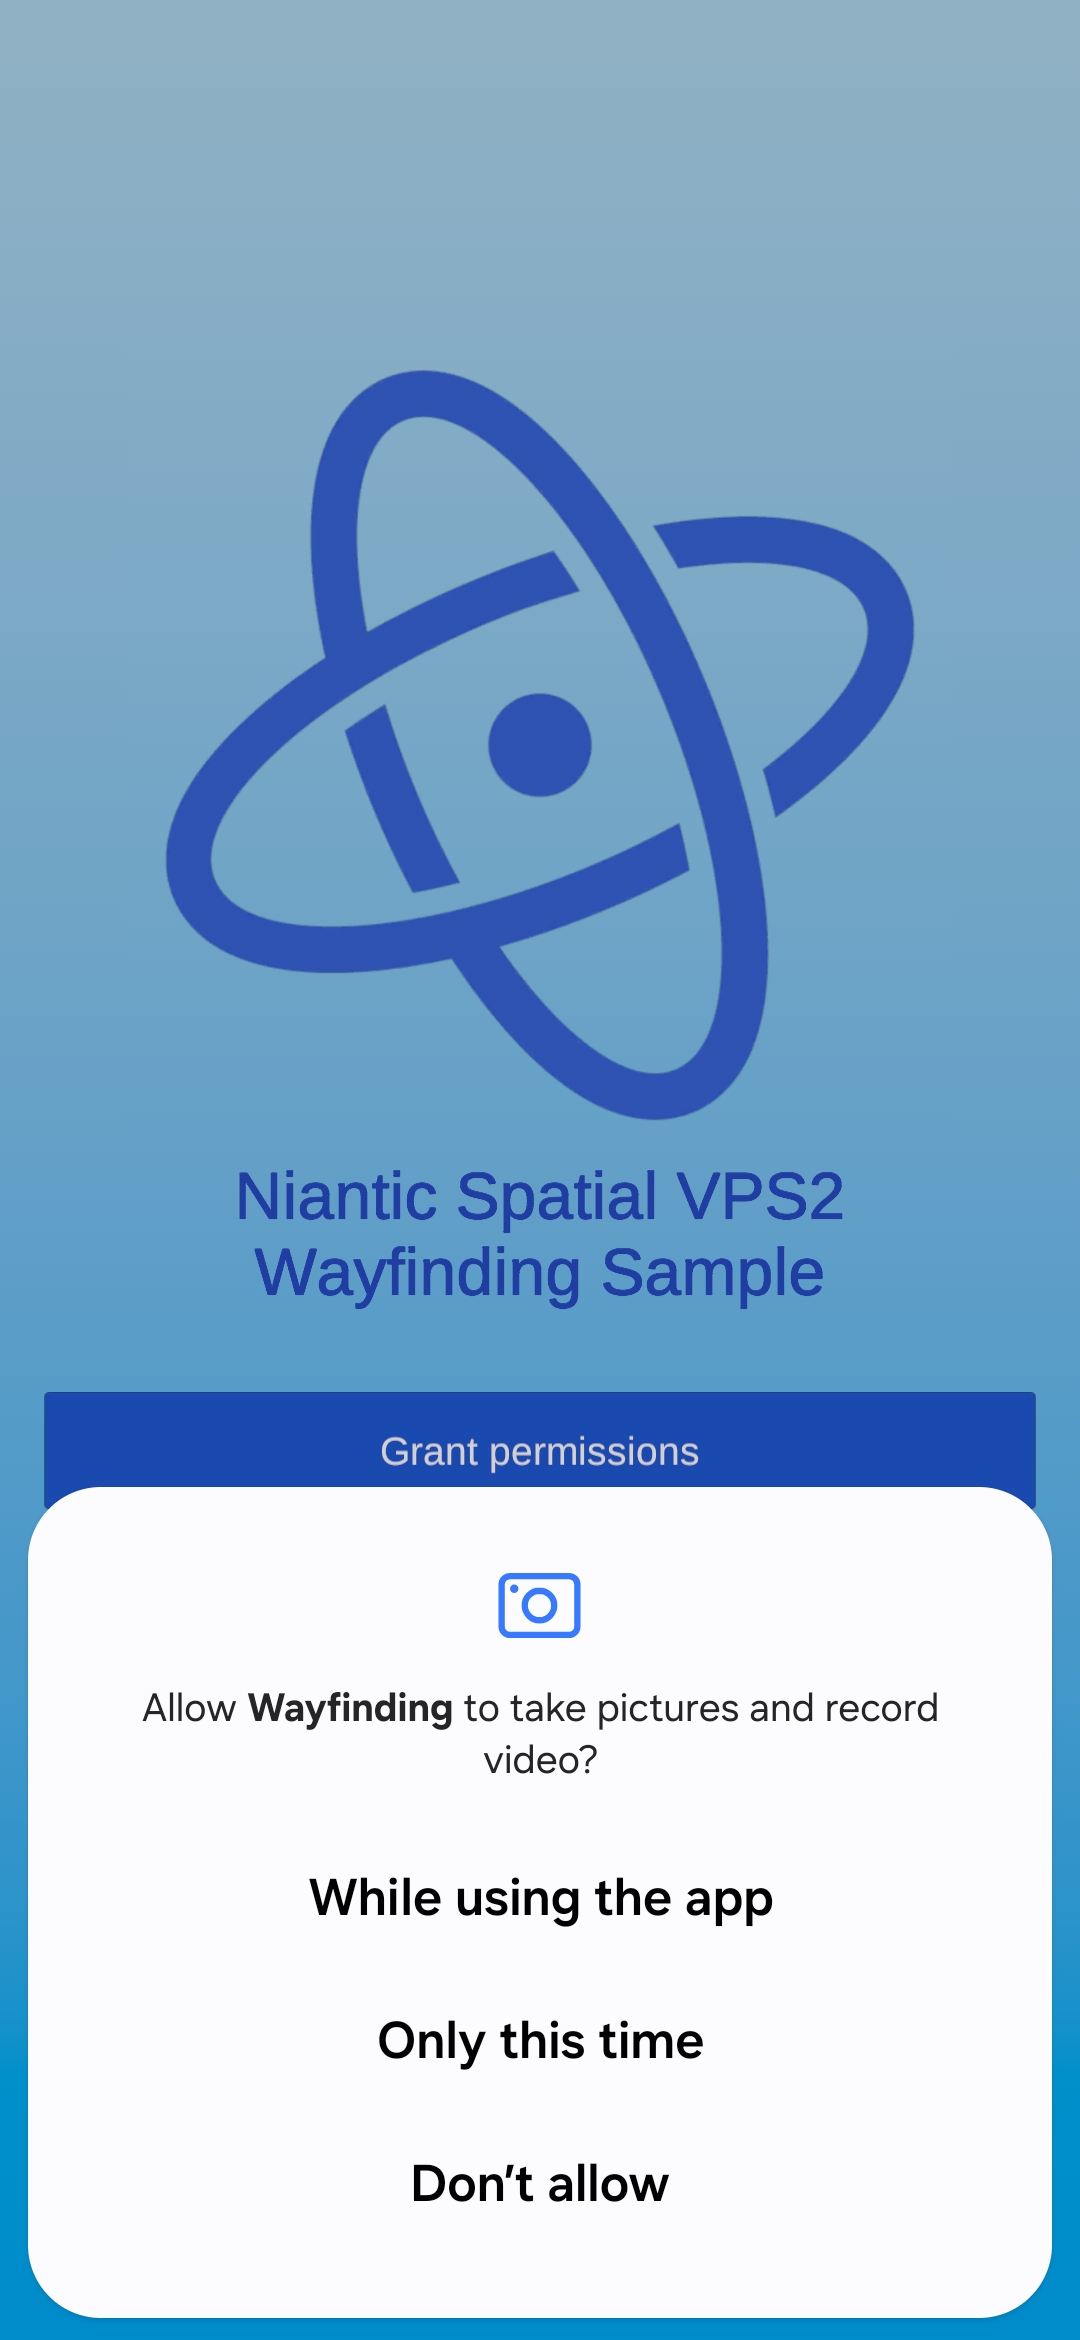
1 Start and sign in
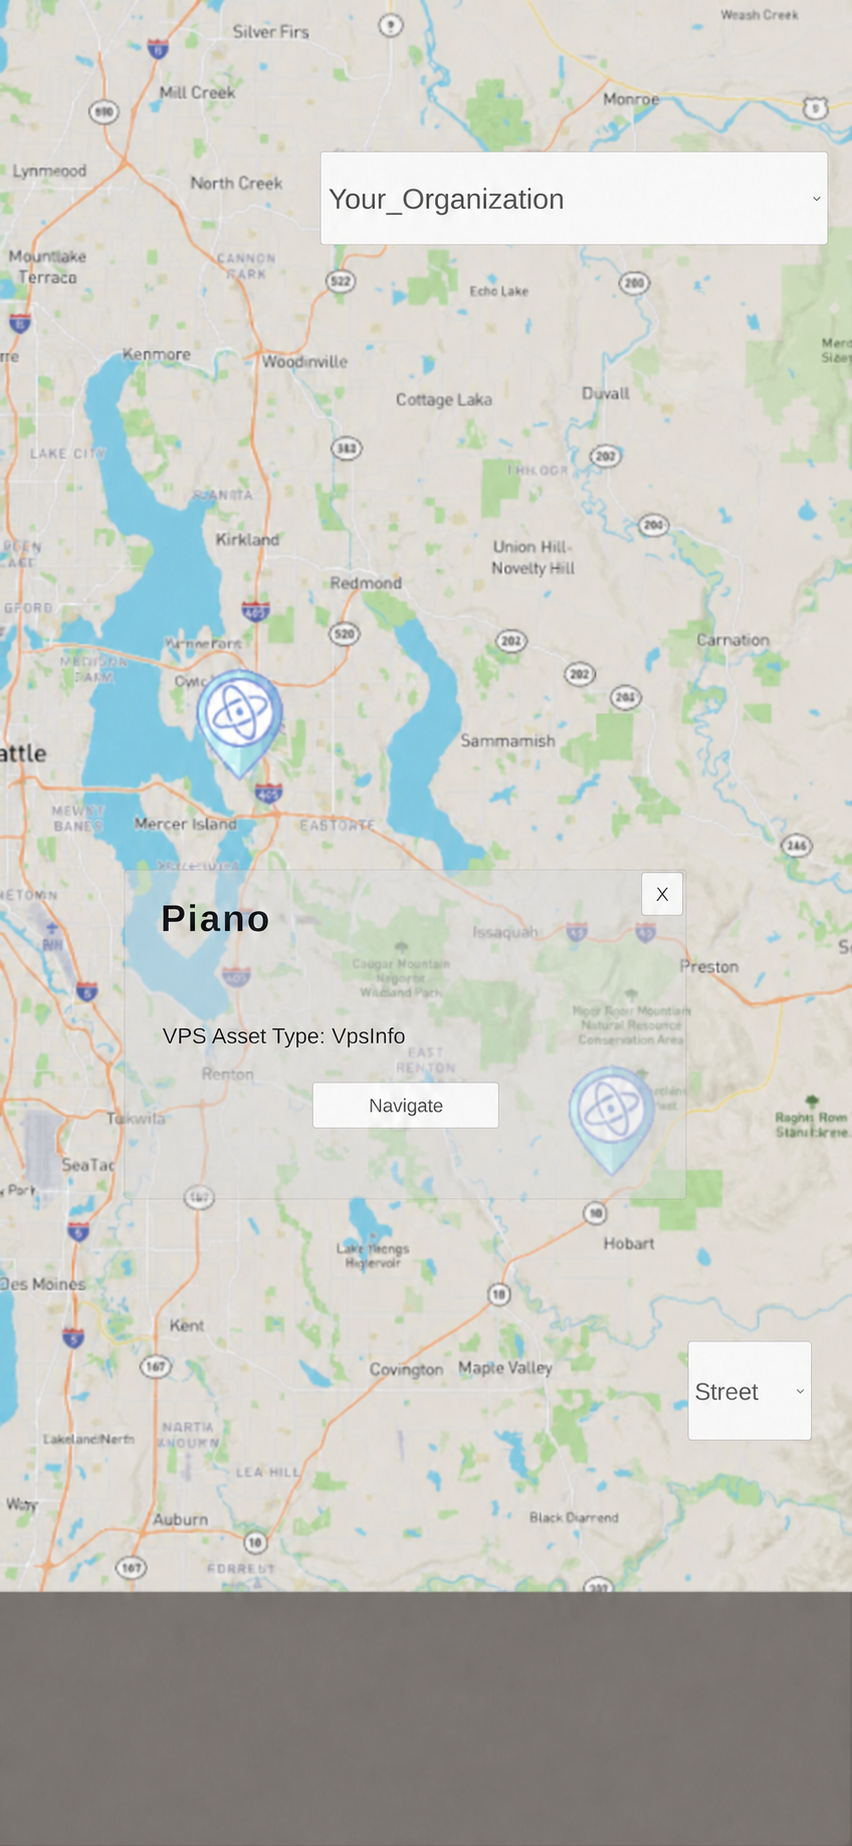
2 Choose a Site
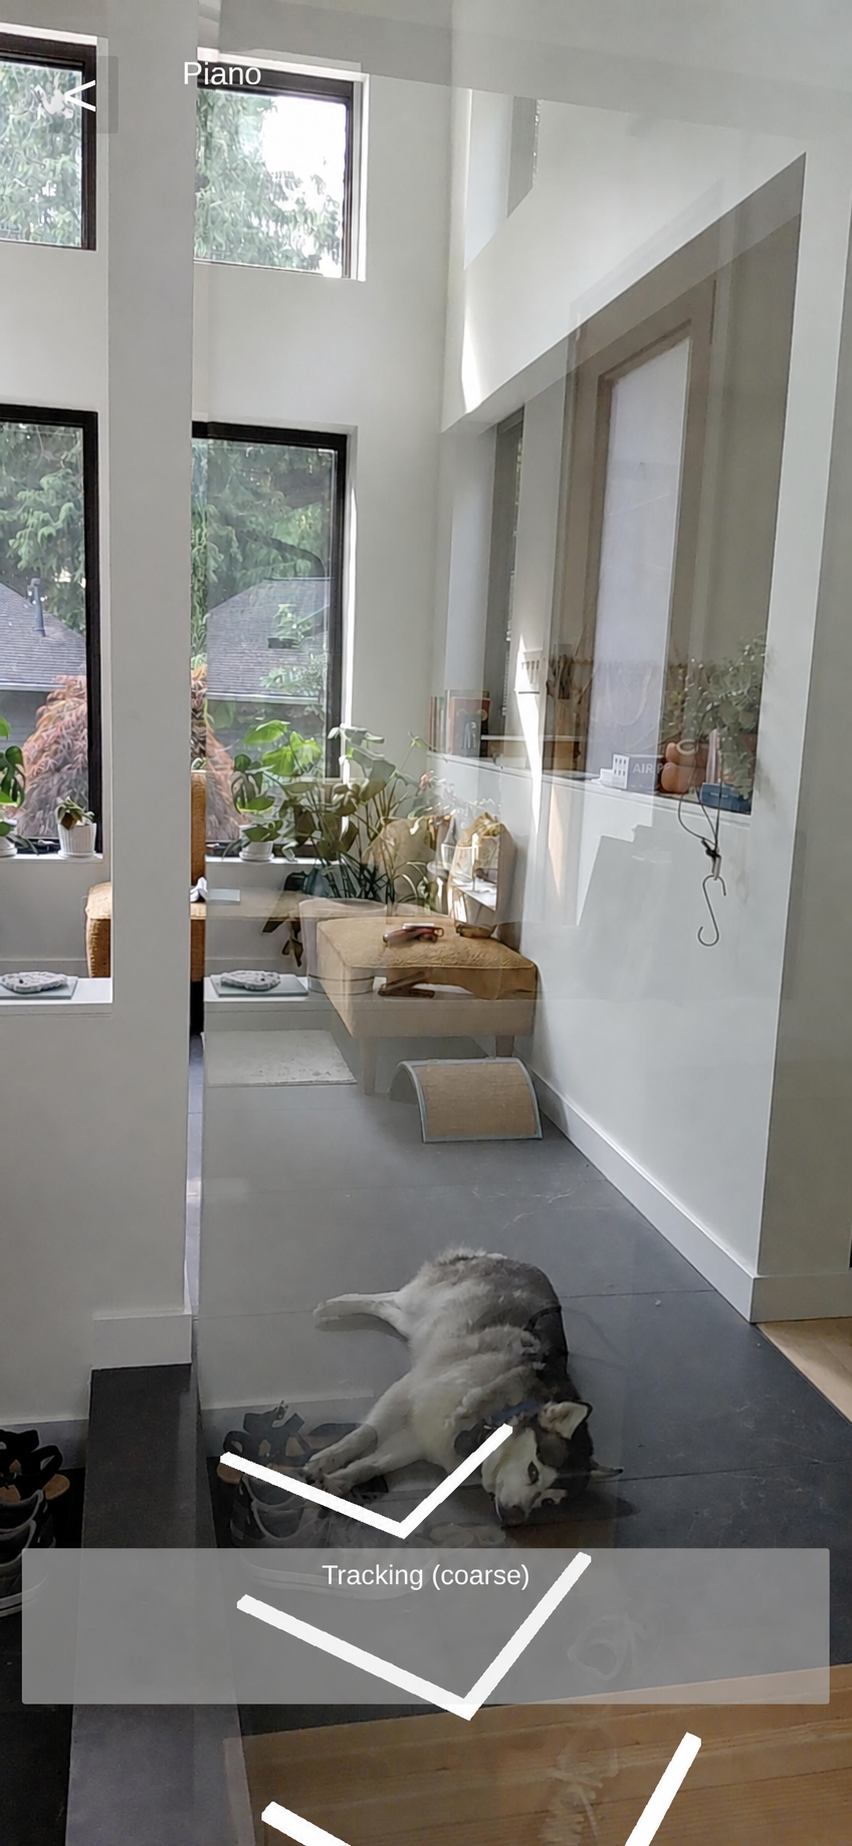
3 Navigate in AR
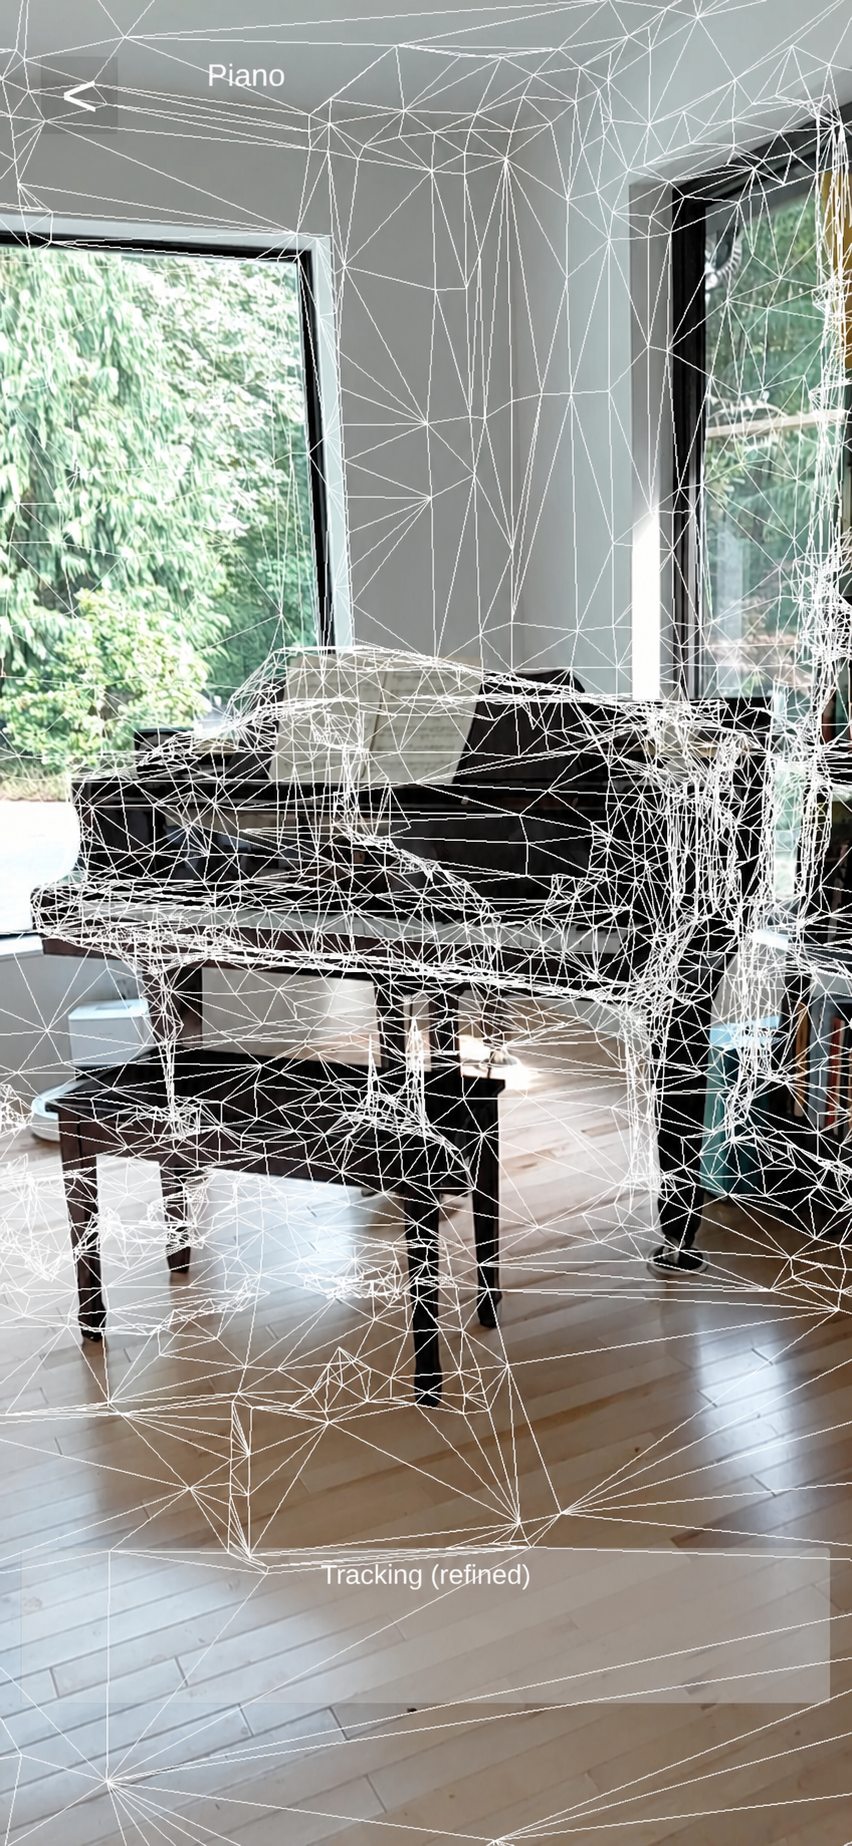
4 View the Site mesh
How the app works
What you’ll learn
01
Set up the project
Prepare the platform project, install NSDK, and configure the dependencies required by the tutorial.
02
Initialize the app
Add authorization, permissions, shared session state, and navigation into the Sites flow.
03
Build the map experience
Load and filter VPS-ready Sites, display markers, handle selection, and pass the chosen Site into the AR flow.
04
Start VPS2 localization
Start localization when the AR session is ready and respond to tracking updates.
05
Render AR guidance
Guide the user toward the Site, then display markers and downloaded mesh content.